
Part
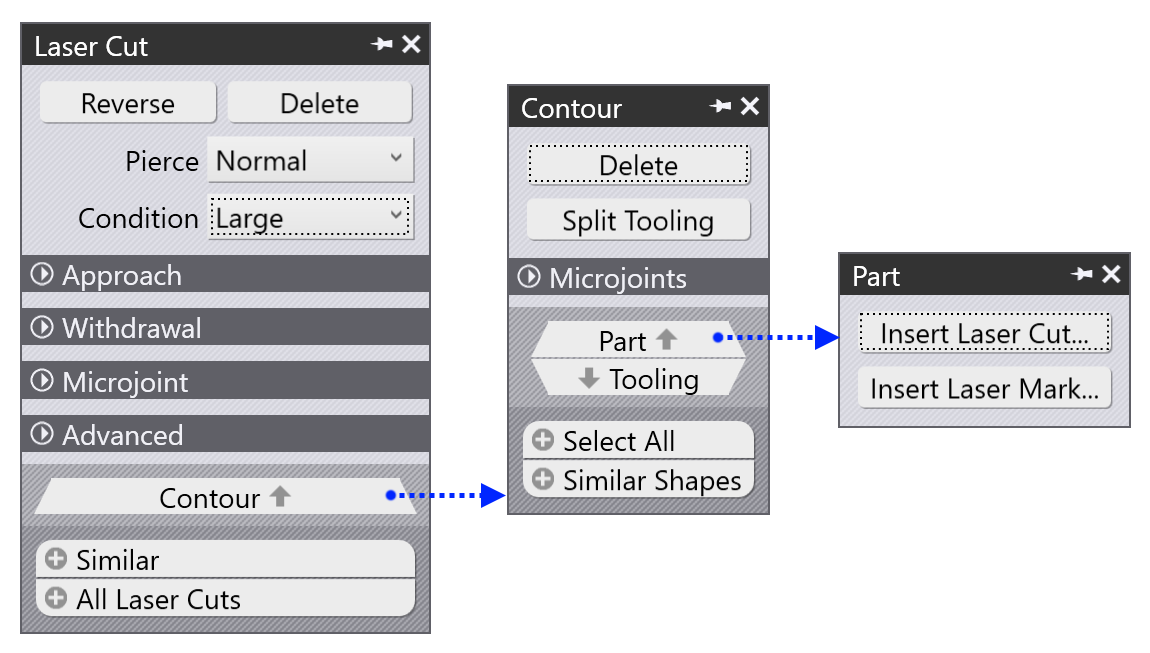
The Part panel in Flux is used to add freehand laser cuts to a part, or to add text marking in a part. To access this panel, click on any laser tooling in the part, then click on the Contour navigator and then click on the Part navigator:
Insert laser cut
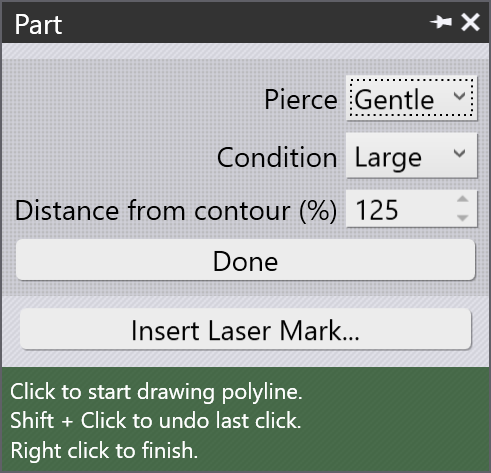
Clicking on the Insert laser cut button puts the part panel into a mode where freehand laser cuts can be inserted into the part by clicking on successive points that are connected together.
-
Pierce and Condition: Select the pierce type, and the cutting condition for the freehand laser cuts to be created.
-
Distance from contour (%): This is the distance to be maintained from the centerline of the cut being inserted to any existing contours, as a percentage of the large contour condition kerf width.
The image below shows the result of successive clicks in this mode. Each click adds a new node in the freehand laser cut that is being created.
-
Shift+Click removes the most recently added node (Undo).
-
Right Click completes the sequence and creates the laser cut.

| The corners are not sharp turns, but have a radius, based on the LTT and the cutting condition being used. |
Insert laser mark
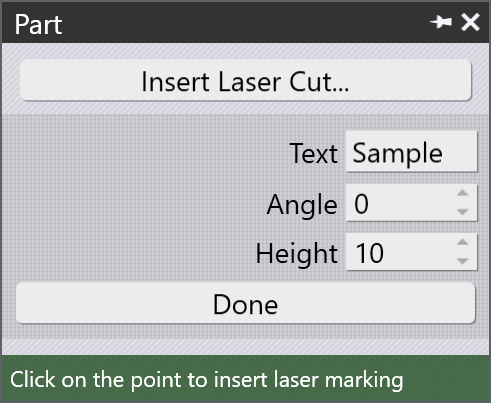
Clicking on the Insert Laser Mark button puts the part panel into a mode where text marking can be inserted into the part. After setting up the parameters as below, click on the part to insert the text there.
-
Text: The text to be inserted (for Trumpf machines, the text is generated in the NC program using TC_WRITE commands).
-
Angle and Height: The rotation angle of the text baseline, and the M-height of the text being created.
After the text is created, it can then be edited by clicking on it. The image below shows text generated using this command, and also the Text panel that appears when it is clicked on, allowing you to change the parameters of the text.
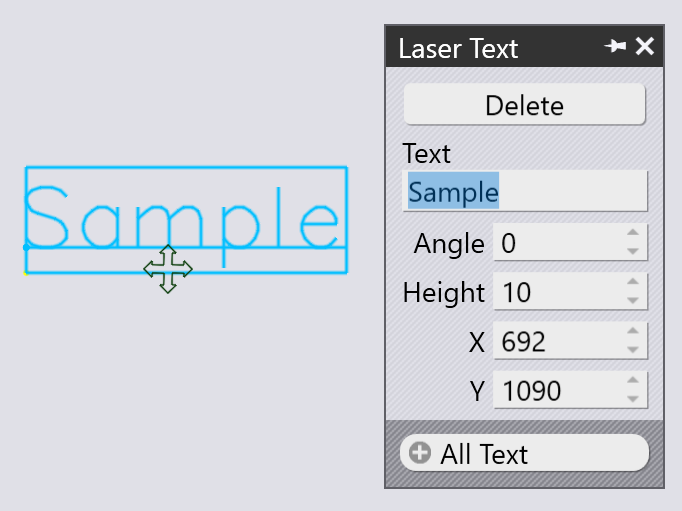
In this mode, you can also click on the text and drag to move the text around.